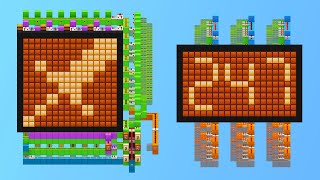
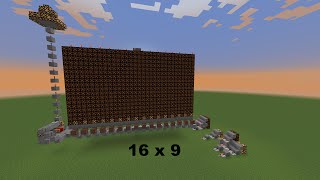
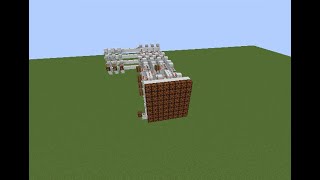
Video: How to Make a Redstone Display and Control Every Pixel by ndgo
How to build it
- Build the 2x2 Lamp Pixel
Place four Redstone lamps in a 2x2 square. This forms a single independent pixel on the front face of your display.
- Place the Upper and Lower Support Blocks
Behind the 2x2 lamp grid, attach two solid building blocks horizontally, and then place another pair of solid blocks to support the dual-level wiring behind the lamps.
- Install the Front Redstone Torches
Place two Redstone torches behind the lamps on your support structure so they power one half of the 2x2 pixel.
- Add the Main Repeaters
Place two Redstone repeaters facing forward into the lamp assembly to power the remaining lamps and control the front torches.
- Place the Secondary Repeater and Control Block
Behind the main assembly, place one more Redstone repeater on the shorter path, and position your input control block at the back.
- Attach the Back Control Torches
Attach two Redstone torches coming off the back control block so they invert the signal feeding into both the upper and lower branches of the pixel.
- Adjust the Repeater Delay and Test
Set the single repeater on the shorter path to a 2-tick delay (click it once) so all four lamps turn on and off at the exact same time, then place a lever on the control block to test your pixel.
How it works
Each pixel on the screen is made of a 2x2 cluster of Redstone lamps. In Minecraft, powering a single lamp with hard power can accidentally light up adjacent lamps, making independent pixel control tricky. This design solves that by only soft-powering the lamps through directed repeaters and torches contained within a 2x2x6 cell.
- Signal Splitting: When you flip the lever on the back control block, it toggles the two attached
Redstone Torchesat the rear. - Dual-Layer Power: One branch feeds the two forward-facing repeaters, while the other branch powers the two front torches. Together, they deliver power to both the top and bottom pairs of lamps in the 2x2 pixel without leaking signal sideways or vertically into neighboring modules.
- Synchronization: Adding one extra tick of delay to the single shorter-path repeater compensates for the torch inversion delay on the other branch, ensuring all four lamps light up and extinguish simultaneously.
Tips & variations
- Scaling Up: You can tile this 2x2 pixel module horizontally and vertically. For example, a 21x9 pixel ultrawide screen uses 42 blocks in width and 18 blocks of lamps in height (19 blocks total height including the bottom overhang) while staying only 6 blocks deep.
- Synchronizing the Flicker: Do not forget to add the 1-notch delay on the single secondary repeater—without it, half of your 2x2 pixel will turn on a split second before the other half.
- Framing: The screen naturally has a borderless look, but you can surround the outer edge with solid dark blocks or encase the 5-block back-end circuitry in stained glass to showcase the wiring.