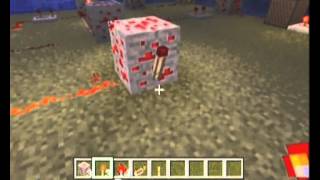
Video: Redstone Basics Ep 19 - Burnout Clock by Givized13
How to build it
- Place the Base Block
Start by placing one solid building block on the ground.
- Attach the Button and Dust
Place a button on one side of the base block, and place a single piece of redstone dust directly on top of the block.
- Mount the Redstone Torch
Attach a redstone torch to the side of the base block (on a free face away from your button).
- Add the Upper Block
Place your second solid block directly on top of the redstone torch, sitting right beside the redstone dust. The clock will immediately cycle eight times and burn out, ready to be triggered again by the button.
How it works
This circuit takes advantage of Minecraft's built-in redstone torch burnout mechanic:
- The redstone torch powers the solid block directly above it.
- That upper block strongly powers the adjacent redstone dust sitting on top of the base block.
- The powered dust energizes the base block, which immediately turns off the redstone torch attached to its side.
- When the torch turns off, the upper block and dust lose power, allowing the torch to turn back on and repeat the loop.
- After flashing 8 cycles in rapid succession, the game forces the redstone torch to burn out and stay off. Pressing the button updates and powers the base block, resetting the burnout state for another 8 pulses.
Tips & variations
- Testing with Droppers/Dispensers: As shown in the video, you can place a dropper or dispenser next to the clock and load it with 16 items (like Ender Pearls). One press of the button will eject exactly 8 items.
- Block Choice: Ensure both blocks are solid, opaque building blocks (such as cobblestone, stone, or wool). Transparent blocks like glass will not transmit power between the torch and the dust.
- Resetting: Wait until the fizzle sound finishes and the 8 pulses are complete before pressing the button to trigger the next burst.
Frequently asked questions
Why does the redstone torch stop flashing on its own?
When a redstone torch is forced to toggle on and off too quickly (8 times within a short window), it experiences 'burnout' and temporarily deactivates to prevent infinite lag loops.
How do I restart the burnout clock once it stops?
Simply press the button attached to the base block. This powers the redstone dust and updates the torch, triggering another burst of 8 rapid pulses.
How many pulses does this clock output per button press?
It produces 8 rapid redstone pulses before burning out.