
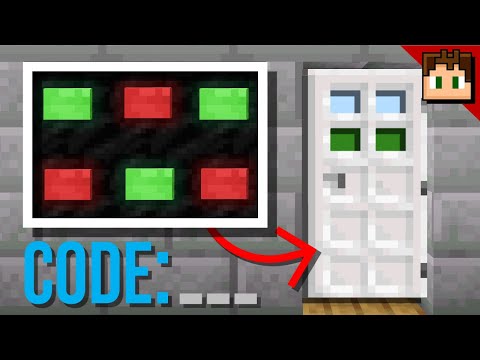
Video: Minecraft Bedrock: How To Build a COMBINATION LOCK! 1.21 Tutorial by Tomco
How to build it
- Set Up the Button Panel
Build a wall with a two-row grid of buttons (such as 4 columns wide by 2 rows tall), placing the bottom row two blocks above the ground. Add one extra button on the side to serve as your master reset button.
- Install the Bottom Row Droppers
Go behind the wall and place a dropper facing downwards directly behind every bottom button. Directly underneath each of those, place a second dropper facing upwards so that each vertical pair faces into one another.
- Wire the Bottom Reset Observers
Underneath the bottom row of droppers, place a row of observers facing towards the front wall so their output powers the blocks beneath the upward-facing droppers. Behind those observers, run a horizontal line of observers going from the reset side across all columns to trigger them simultaneously.
- Program the Bottom Row Code
Choose which bottom buttons will be part of your secret combination. For every correct bottom button, place two solid blocks extending outward behind the top dropper; leave the spaces directly behind incorrect bottom buttons empty.
- Add Comparators and Items
Place a redstone comparator reading out from every bottom-row mechanism—behind the two solid blocks for correct buttons, or directly behind the bottom dropper for incorrect ones. Place a repeater in front of each comparator, then put one filler item inside every top downward-facing dropper.
- Place the Top Row Repeaters and Pistons
Crouch and place a redstone repeater on top of every upper dropper, facing away from the button wall. In front of each repeater, place a sticky piston if that top button is part of your code, or a regular piston if that top button is not part of your code.
- Add the Opposing Pistons
Leave a two-block gap in front of your first row of pistons and build a parallel row of pistons facing back towards the wall. Match each piston type to the one across from it: place a sticky piston across from every sticky piston, and a regular piston across from every regular piston.
- Place the Redstone Blocks and Output Line
Between the facing pistons, place a block of redstone in front of each wall-side sticky piston (for correct buttons) and in front of each back-side regular piston (for incorrect buttons). Underneath the back position of the redstone blocks, build a row of solid blocks topped with redstone dust so it connects with the bottom-row repeaters.
- Build the Top Reset Line
One block down from the redstone dust line, place a row of solid blocks with repeaters running in the same direction as your bottom observer chain. Crouch and place an upward-facing observer on top of each of these repeaters to power the back row of pistons during a reset.
- Connect the Master Reset Button
Behind your side reset button, place a downward-facing sticky piston holding an observer that points into the bottom reset mechanism via a dropper. Place redstone dust on top of that dropper leading through a block and a repeater into the top reset repeater line.
- Attach the Output Torch
At the end of your main redstone dust line, place a target block with a redstone torch attached to its side. Connect this redstone torch to your vault door; it will only turn on when the entire redstone dust line is depowered by entering the exact combination.
How it works
This circuit operates as a large NOR gate running along the central redstone dust line. As long as any column powers that redstone line, the target block keeps the output redstone torch turned off and your door remains locked.
- Bottom Row (Dropper Latch): Every top dropper starts with one item. For a correct button, the comparator reads through the upper blocks, so it starts ON and keeps the dust line powered. Pressing the button pushes the item into the bottom dropper, turning the comparator and repeater OFF. For an incorrect button, the comparator reads the empty bottom dropper (starting OFF); pressing it shoots the item down and turns the comparator ON, locking the circuit.
- Top Row (Piston Latch): Correct top buttons use sticky pistons and start with their redstone block powering the dust line. Pressing the button extends the sticky piston and pulls the redstone block away on retraction (or shifts it out of alignment via the dual-piston setup depending on your layout). Incorrect top buttons use regular pistons that push a redstone block onto the dust line if pressed, locking the system until reset.
- Reset System: Pressing the reset button fires an observer pulse through the bottom droppers to push all items back to the top droppers, while simultaneously pulsing the back row of pistons to push all redstone blocks back to their starting positions.
Tips & variations
- Expanding the Keypad: The design is 1-wide tileable per column of two buttons. For a 4-column keypad (8 buttons), reserve a 5x4x6 area; add 1 block to the width for every extra column you add.
- Changing the Password: You can change the combination at any time by swapping sticky pistons and regular pistons on the top row, or by moving the two spacer blocks and comparator positions on the bottom row.
- Common Mistake: Make sure each pair of opposing pistons on the top layer matches (sticky facing sticky, regular facing regular) and that only one single item is placed inside each top dropper before testing.


