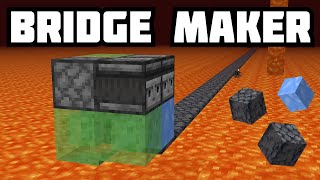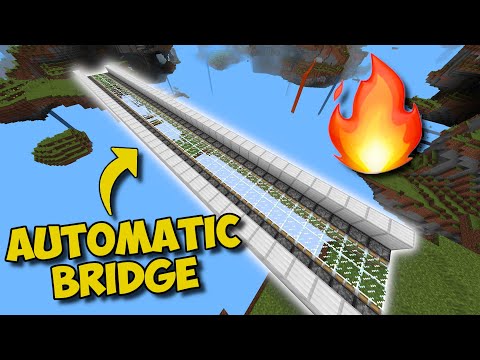
Video: (1.16+) Easy AUTOMATIC BRIDGE In Minecraft! - Redstone Bridge Tutorial by Farzy
How to build it
- Dig or frame the gap
Start by digging out a trench that is 4 blocks wide and extend it for as many blocks as you want your bridge to be long. You can also build this layout over an existing ravine, cave, or lava pit.
- Place sticky pistons along both sides
Dig out one block into the left and right walls of your 4-wide trench. Place a line of sticky pistons on both sides facing inward toward the center of the gap.
- Attach the bridge walkway blocks
Place glass blocks (or any solid building block of your choice) directly against the sticky faces of all the pistons on both sides. When retracted, this leaves a 2-block-wide open drop down the middle.
- Cover the sticky pistons
Place solid building blocks (such as stone or grass to match the terrain) directly on top of every sticky piston on both the left and right banks.
- Mount the tripwire hooks
Attach tripwire hooks to the inner faces of the solid blocks you just placed above the pistons. Each hook should sit directly above a glass block, facing across the gap toward the opposite hook.
- Connect the hooks with string
Place 2 pieces of string in the air between each opposing pair of tripwire hooks until they click and connect. Avoid stepping into the string while placing it so the pistons do not fire prematurely.
- Camouflage the bridge (Optional)
To hide the mechanism, place natural blocks around the ends of the tripwire rows and build a small archway or tunnel over the walkway—raising the center ceiling block by one so you can still walk through.
How it works
This bridge works by powering adjacent pistons directly through the blocks holding the tripwire hooks:
- Detection: Each slice of the bridge has two
tripwire-hookcomponents linked across the 2-block center gap with string. - Activation: When a player walks into a string segment, both hooks on that row activate and strongly power the solid building blocks they are attached to.
- Extension: Because those solid blocks sit directly on top of the
sticky-pistonrows, the pistons on both sides immediately receive power and push the two glass blocks together to seal the 2-block floor beneath the player. - Retraction: As soon as the player steps forward onto the next string segment, the previous tripwire deactivates, depowering the blocks and retracting the floor behind them.
Tips & variations
- See-through floor: Using glass for the moving bridge blocks lets you look down into lava, a deep pit, or trapped mobs while walking across.
- Tileable length: Each 1-block slice operates independently, so you can make this bridge as short or as long as you need by repeating the same 6-wide slice.
- Don't sprint-jump too fast: Because pistons take a brief moment to extend, walking or running normally across the tripwires works best.