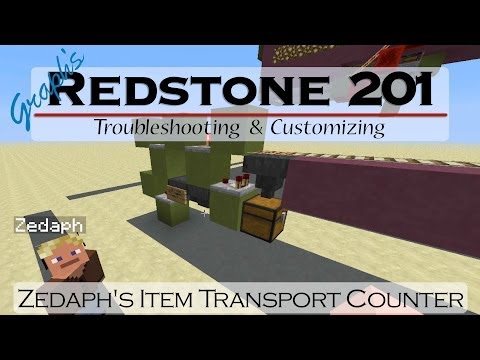
Video: Redstone 201 // ZedaphPlays' Item Transport Counter by Amelia
How to build it
- Place the Unloading Hopper and Track
Place your output chest and attach an unloading hopper feeding into it. Put a Powered Rail on top of the unloading hopper against a solid stopping block so an incoming Minecart with Chest halts directly over the hopper.
- Add the Unloading Comparator
Behind the unloading hopper, place a Redstone Comparator reading from the hopper and facing into a solid building block.
- Install the Two Timer Hoppers
Below the comparator logic, place two hoppers facing directly into each other. These two hoppers will pass counting items back and forth to time how long the minecart stays parked.
- Wire the Hopper Lock Invert
Attach a Redstone Torch to the block powered by the first comparator so it locks the first timer hopper while the unloader is idle. Run output from that same block to lock the second timer hopper whenever items begin flowing from the minecart.
- Read the Timer Hopper
Place a second Redstone Comparator reading from the first timer hopper and run it into a block holding a second Redstone Torch. As long as counting items are still draining out of the first timer hopper, this torch stays off.
- Connect the Return Signal to the Rail
Run an overhead line from the torches back over to the block powering the Powered Rail. Include the connection from the first torch so an empty minecart (or one that finishes early) is still sent back rather than getting stuck.
- Swap Top Dust for Repeaters (Tileable Upgrade)
To make the 1-wide slice completely tileable side by side without adjacent redstone dust lines cross-connecting, replace the top redstone dust line with two Redstone Repeaters above the torch blocks.
- Load the Counting Items
Place your desired number of items into the first timer hopper minus the signal delay offset: use 1 fewer item than your target count for the dust-top version, or 2 fewer items (for example, 8 items to unload 10) for the repeater-top tileable version.
How it works
The circuit combines a standard minecart unloader with a dual-hopper item timer so only one of the two timer hoppers is unlocked at any moment:
- Idle state: When no items are passing through the top unloading hopper, its
Redstone Comparatoris off. The firstRedstone Torchstays lit, locking the first timer hopper (which holds your preset counting items) and leaving the second timer hopper unlocked so any items in it return to the first hopper. - Unloading & counting: When a Minecart with Chest arrives and items enter the top hopper, the top comparator powers its block. This turns off the first torch—unlocking the first timer hopper—and simultaneously powers the block locking the second timer hopper. The timer items transfer at the exact same hopper speed as the items unloading from the cart.
- Dispatching the cart: While timer items remain in the first timer hopper, the bottom
Redstone Comparatorkeeps the second torch off, holding thePowered Railunpowered. The instant the last timer item leaves the first timer hopper, the bottom comparator turns off, the torch turns back on, and power travels across the top line to activate thePowered Railand launch the minecart away. - Empty-cart safeguard: Because the first torch is also tied into the upper return line, a minecart that arrives completely empty never triggers the top comparator and is immediately sent back on its way instead of getting stranded.
Tips & variations
- Calculating the item offset: Redstone torches and repeaters introduce a few ticks of signal delay before the rail re-powers. In the 1-wide dust version, put N - 1 items in the timer hopper (9 items to drop off 10). In the tileable repeater version, the extra repeater delay means you should put N - 2 items in the timer hopper (8 items to drop off 10).
- Making it tileable: Standard redstone dust along the top ridge will connect to neighboring slices. Using repeaters across the top isolates each 1-wide lane so you can stack multiple drop-off counters right next to each other.
- Auto-farm replanting application: Route your farm harvest into a Minecart with Chest and pass it over this counter first set to your exact field size (e.g., 24 carrots) near the farm, then let the cart carry the surplus harvest onward to your main storage sorter.